splitboard basics

splitboarding 101

Splitboarding is the answer to riding busy and tracked out ski resorts. On a splitboard, you can make unforgettable adventures that are somewhat more exotic then riding in a regular skiing area. With a splitboard, you can reach that one peak that you have been dreaming of for years. Or you can do it as a little fitness session from the back of your apartment. Everybody has their idea of what splitboarding means to them. Just like a regular snowboard session, you need to know a few little things and techniques to make your adventures a little bit more safe and comfortable. Especially when you are splitting when it’s minus 20 degrees Celsius or when you have wind gusts of hundred kilometers an hour.

Transition from snowboard to tour mode

Most of the times you arrive at the base of your tour, after snowboarding down from the lift. That means you will be in the snow and sometimes in a remote spot, where you don’t have access to a shop or spare parts. That’s why I strongly advise you to practice this first at home for a couple of times in a warm and comfortable environment to get handy with your setup. Here you got your tools, manuals and other stuff that you might need if you need to adjust your stance, skins etc.

This whole transition should be possible with your gloves on, which is something I can advise you to do on a cold day. Possibly bring a wax scraper to remove stubborn ice and snow, for some splitboardbinding systems like the Karakorams this can be a huge advantage and timesaver.

step 1

splitboard basics transition

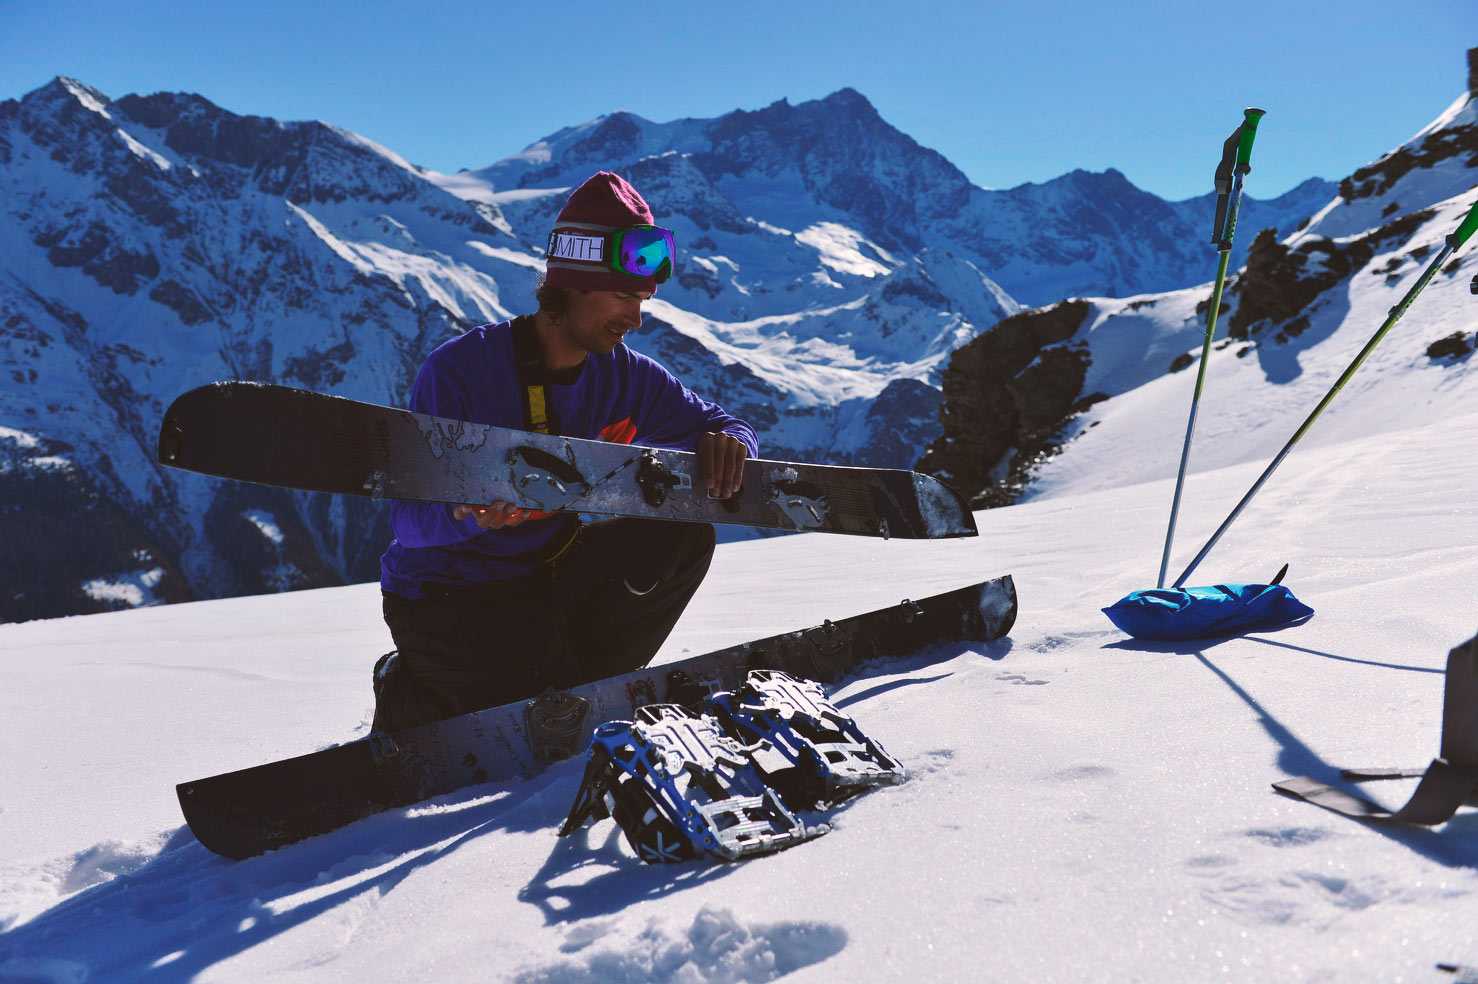
First, secure your stuff so, that you cannot lose anything! Be aware that it can slide down or blow away by the wind. When it is a steep slope, you can dig a platform/hole as a depot. After that connect your telescopic poles.

step 2

splitboard basics clean base

Sweep or scrape the snow, grass or dirt off the board; you can get in troubles if your skins lose cohesion with the board, which can be very annoying or even dangerous in some cases.

step 3

secure skis, splitboard basics

Put your ski’s firmly with the tail in the snow. Grab your skins out of your backpack or jacket when it’s very cold or when they are wet. The glue can be too sticky when your skins are too cold, in some cases you need two people to separate them.

step 4

stick skins to your splitboard, splitboard basics

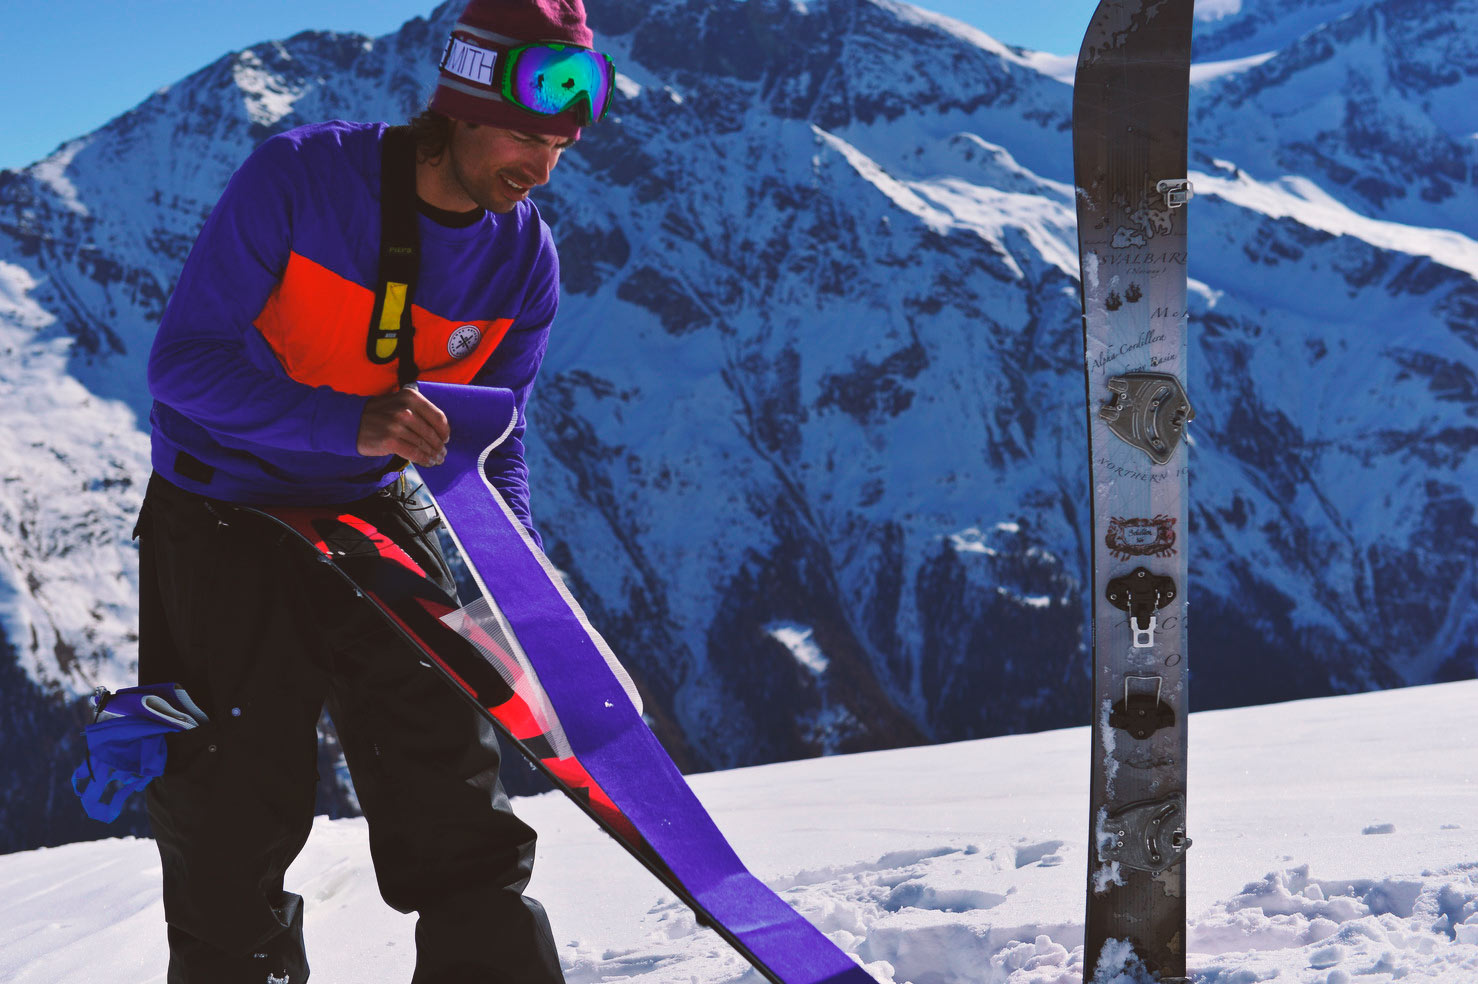
Hang your skins on the nose of the ski’s and connect the first 10cm, next put the nose in the snow to place your skins carefully between your edge, and make sure they don’t have any folds in them. Make sure the skins do not cover your edges. Modern skins got a tail clip to connect the skins with the tail. Make sure (at home) your skins have got good glue and are waxed with a special skin wax especially in spring with wet snow conditions. The last thing you want is clotting snow on your base when skinning up the mountain.

step 5

secure bindings to your splitboard, splitboard basics

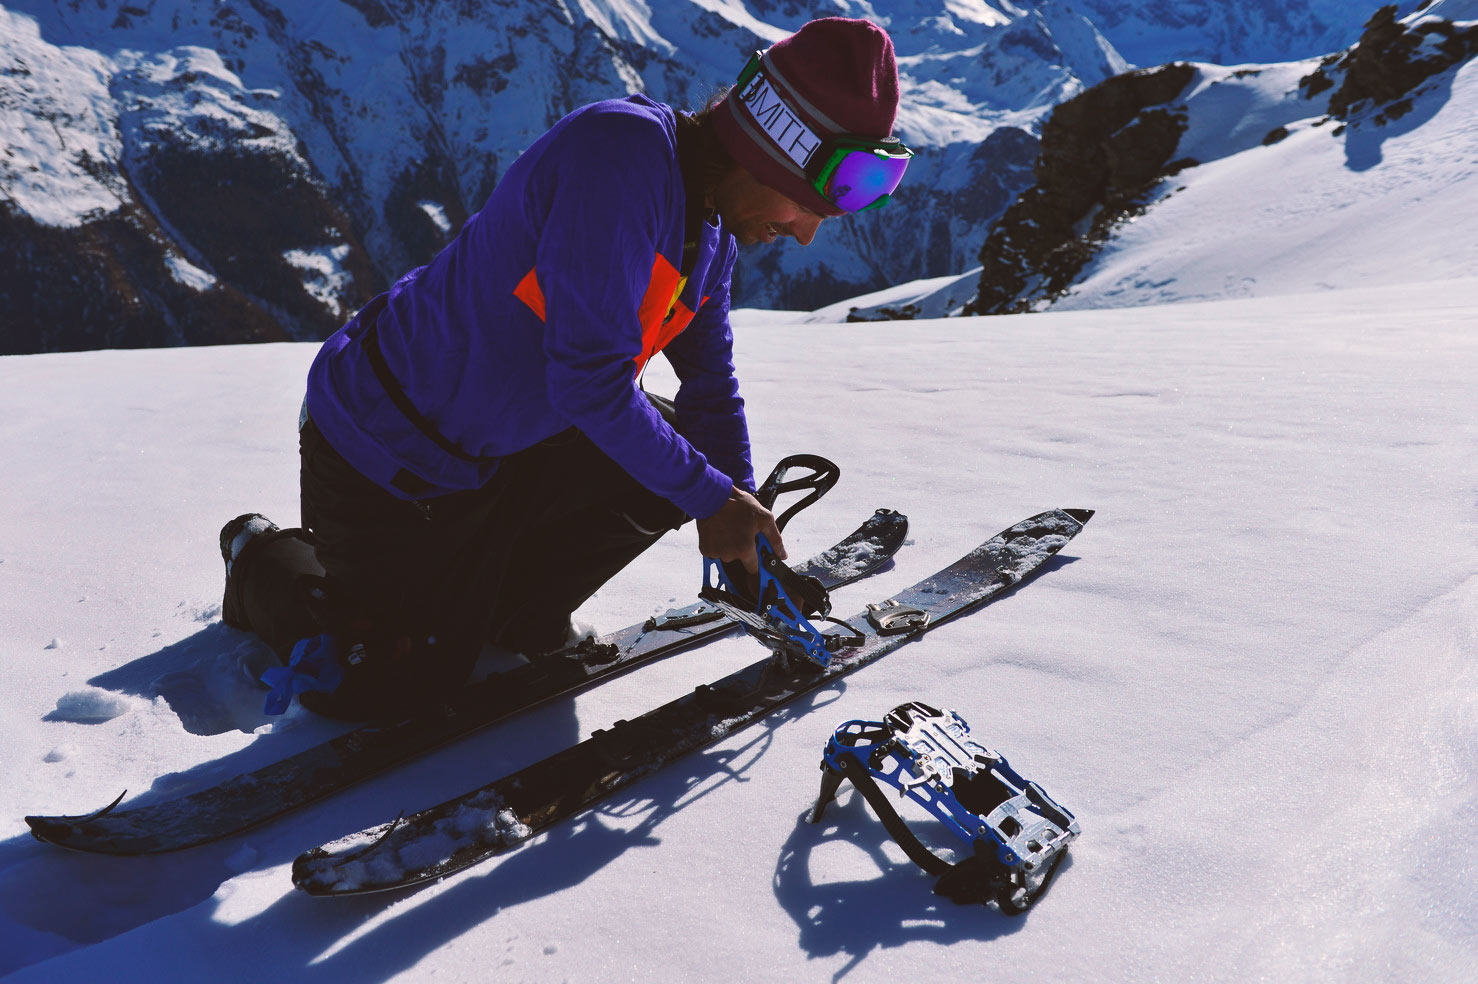
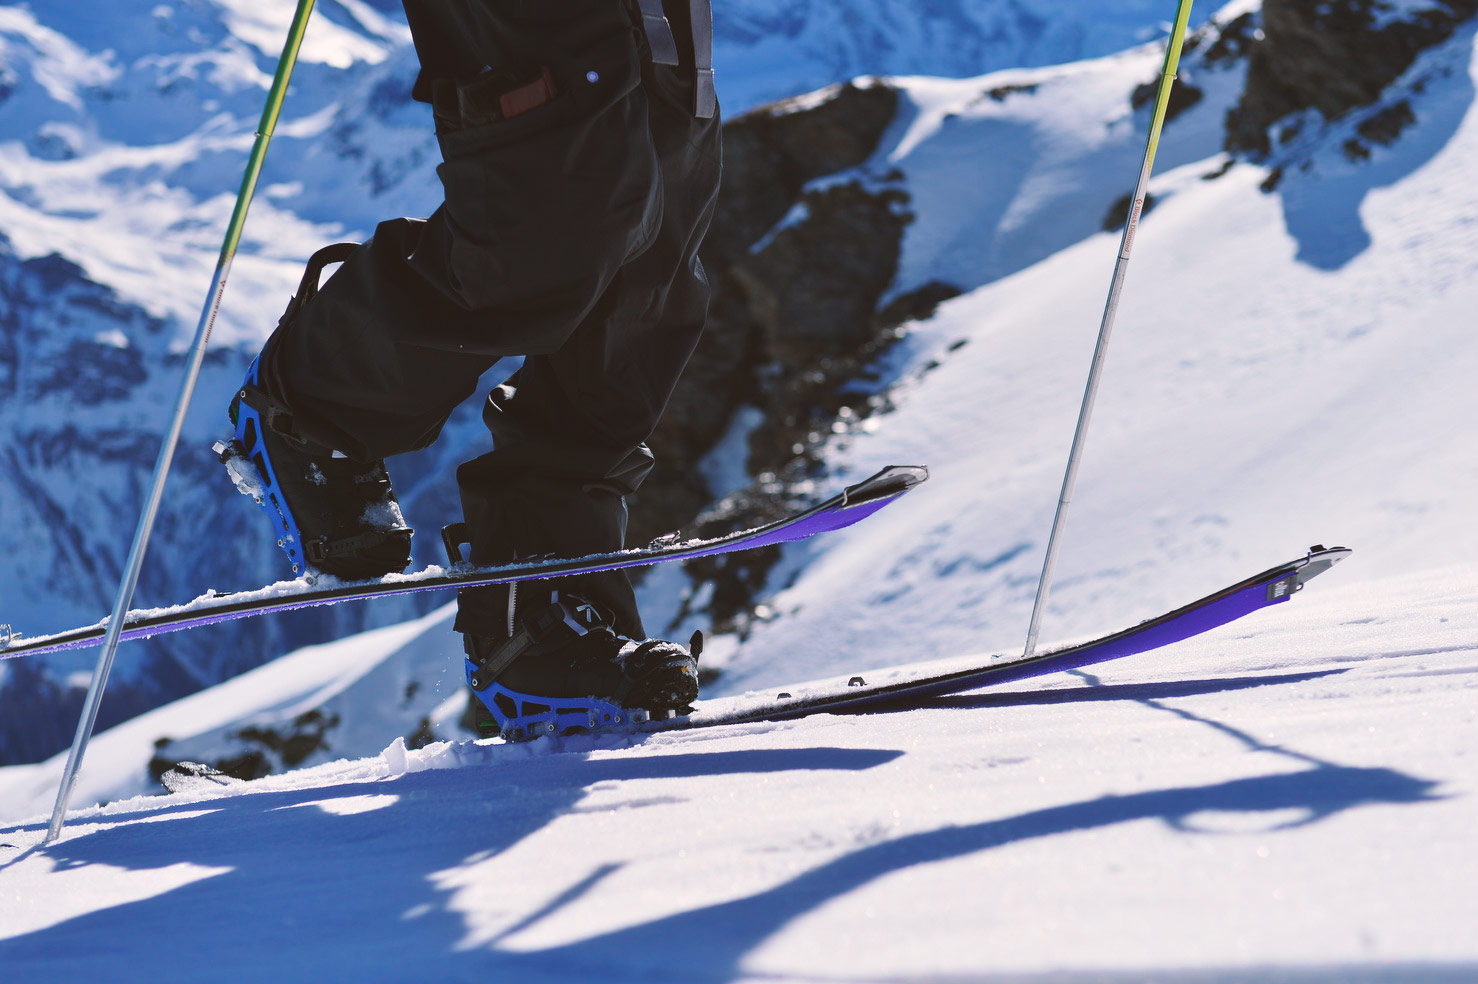
Watch how my highbacks of the bindings are upside down and stuck in the snow, this prevents that they slide or roll down. Normally when your skins are attached to the board, they will not slide away anymore unless it’s super windy or steep, then put the tail in the snow like before.

step 6

negative forwardlean, splitboard basics

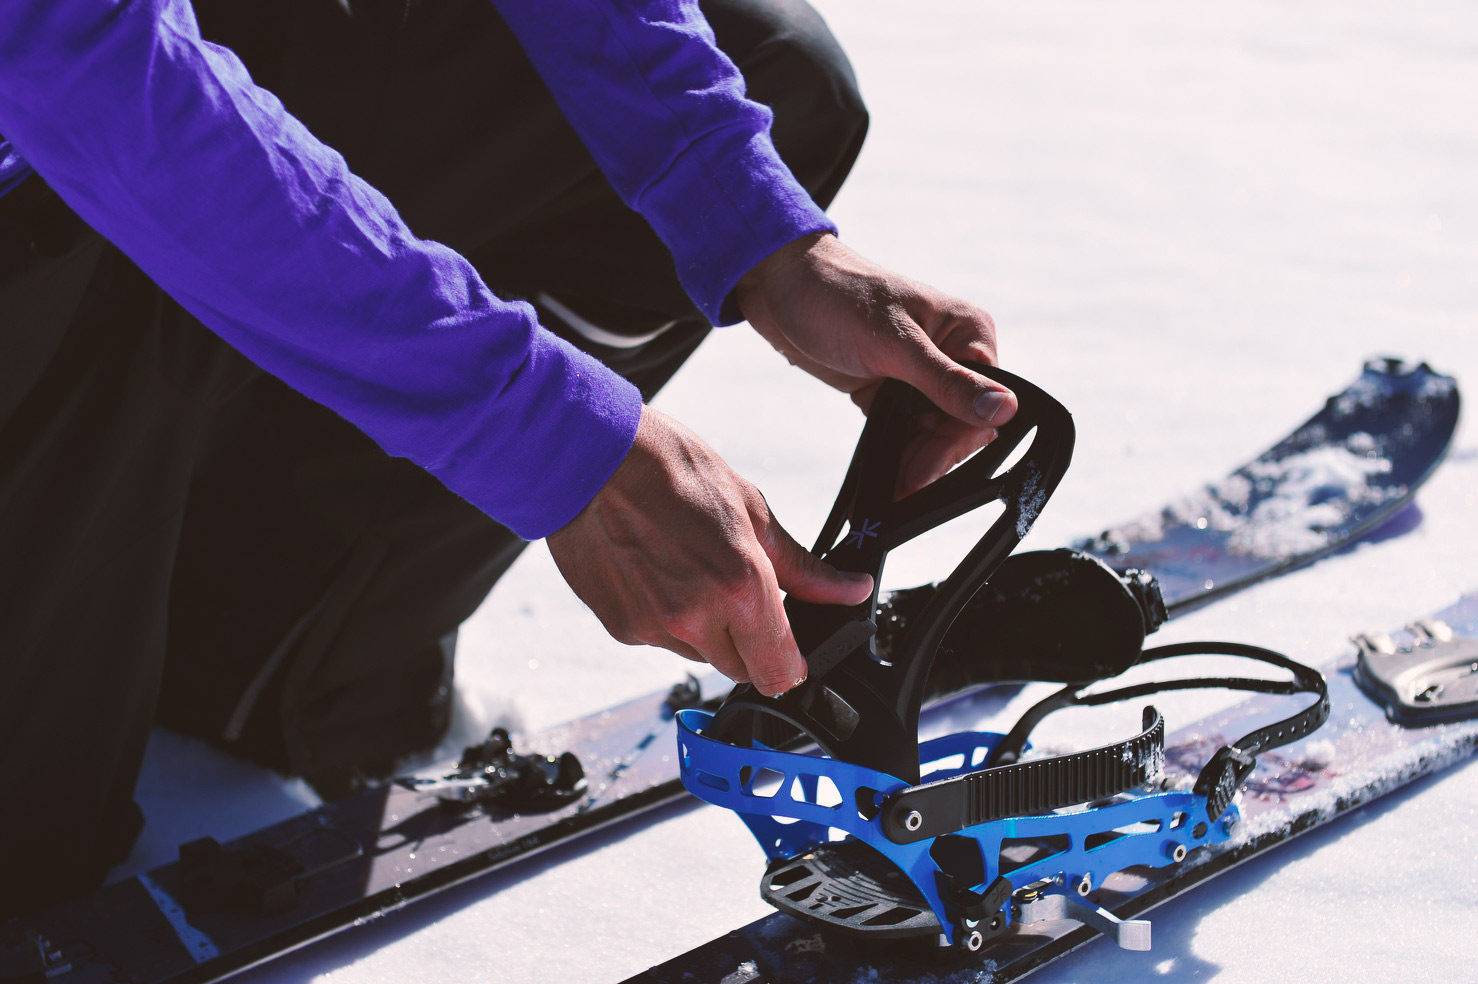
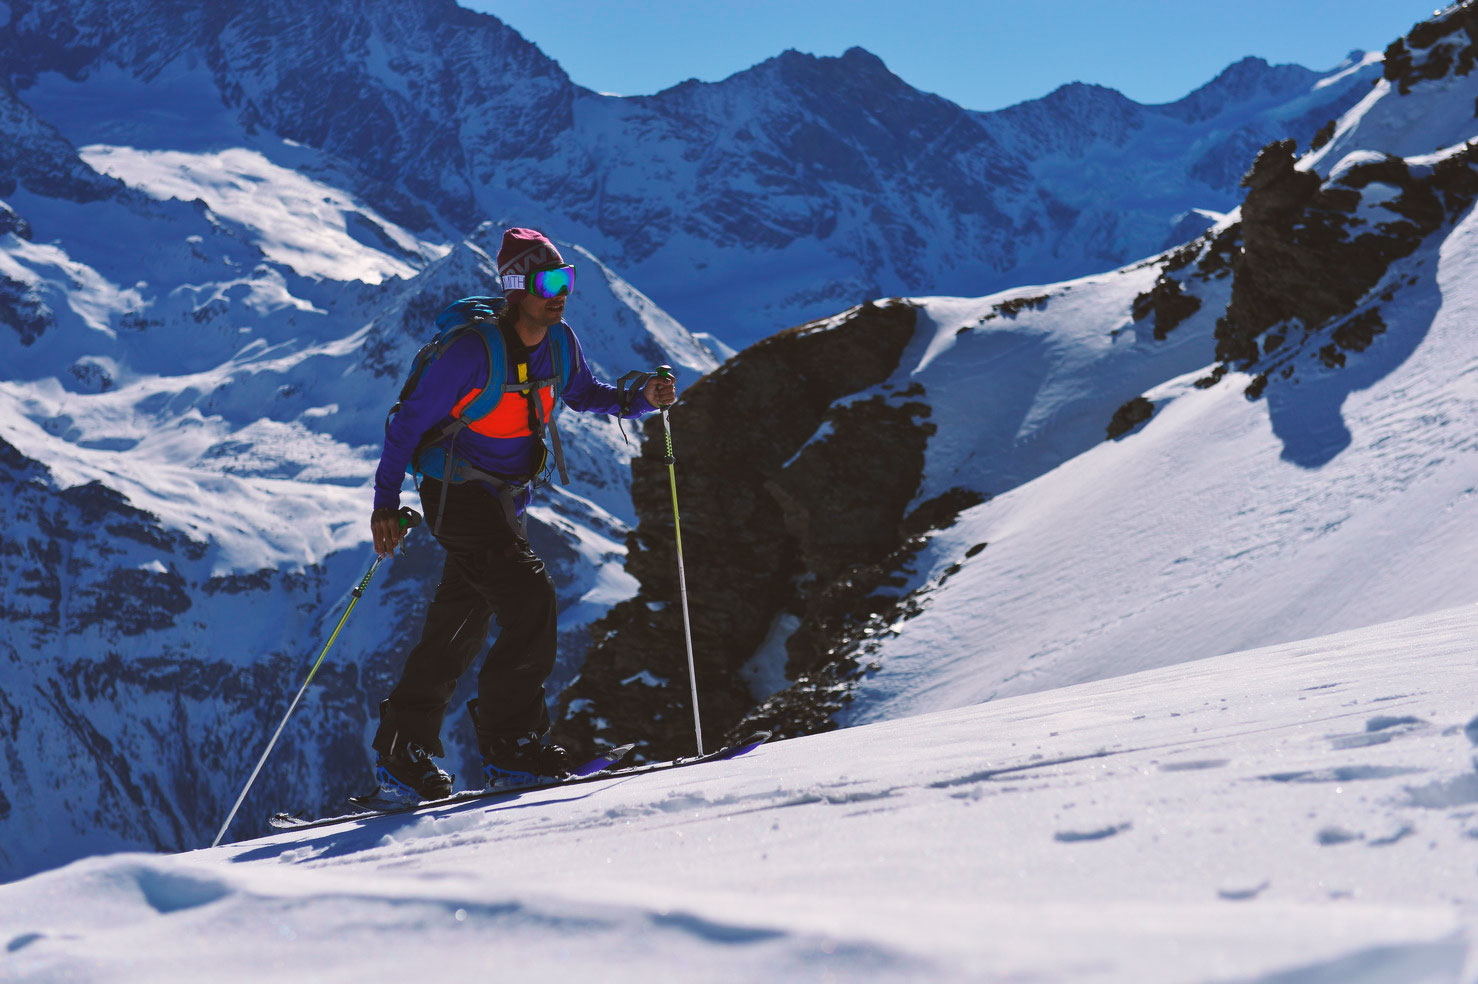
Good splitboard bindings will have a quickly adjustable high-back that you can put in a negative forward lean for walking up. When it is icy, I suggest that you already connect your crampons to your bindings for extra grip.

step 7

crampons for grip, splitboard basics

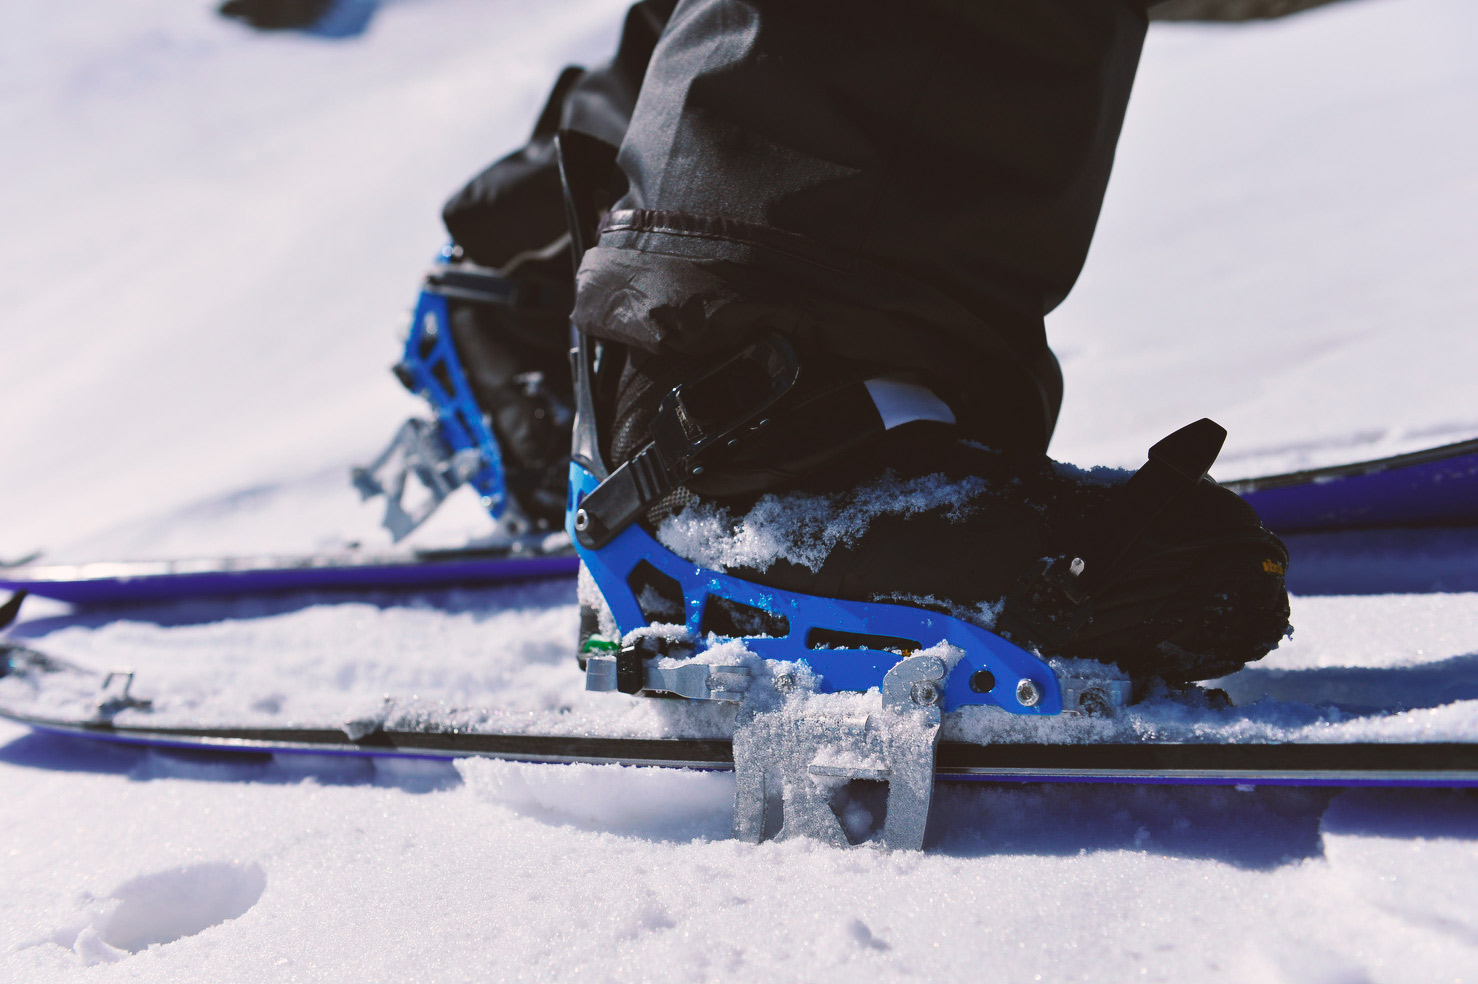
If the snow is getting icy or wind affected, and you start to lose grip. Put on your crampons for extra security. It is the best practice to do this before you get yourself in a uncomfortable situation.

step 8

Heelriser, splitboard basics

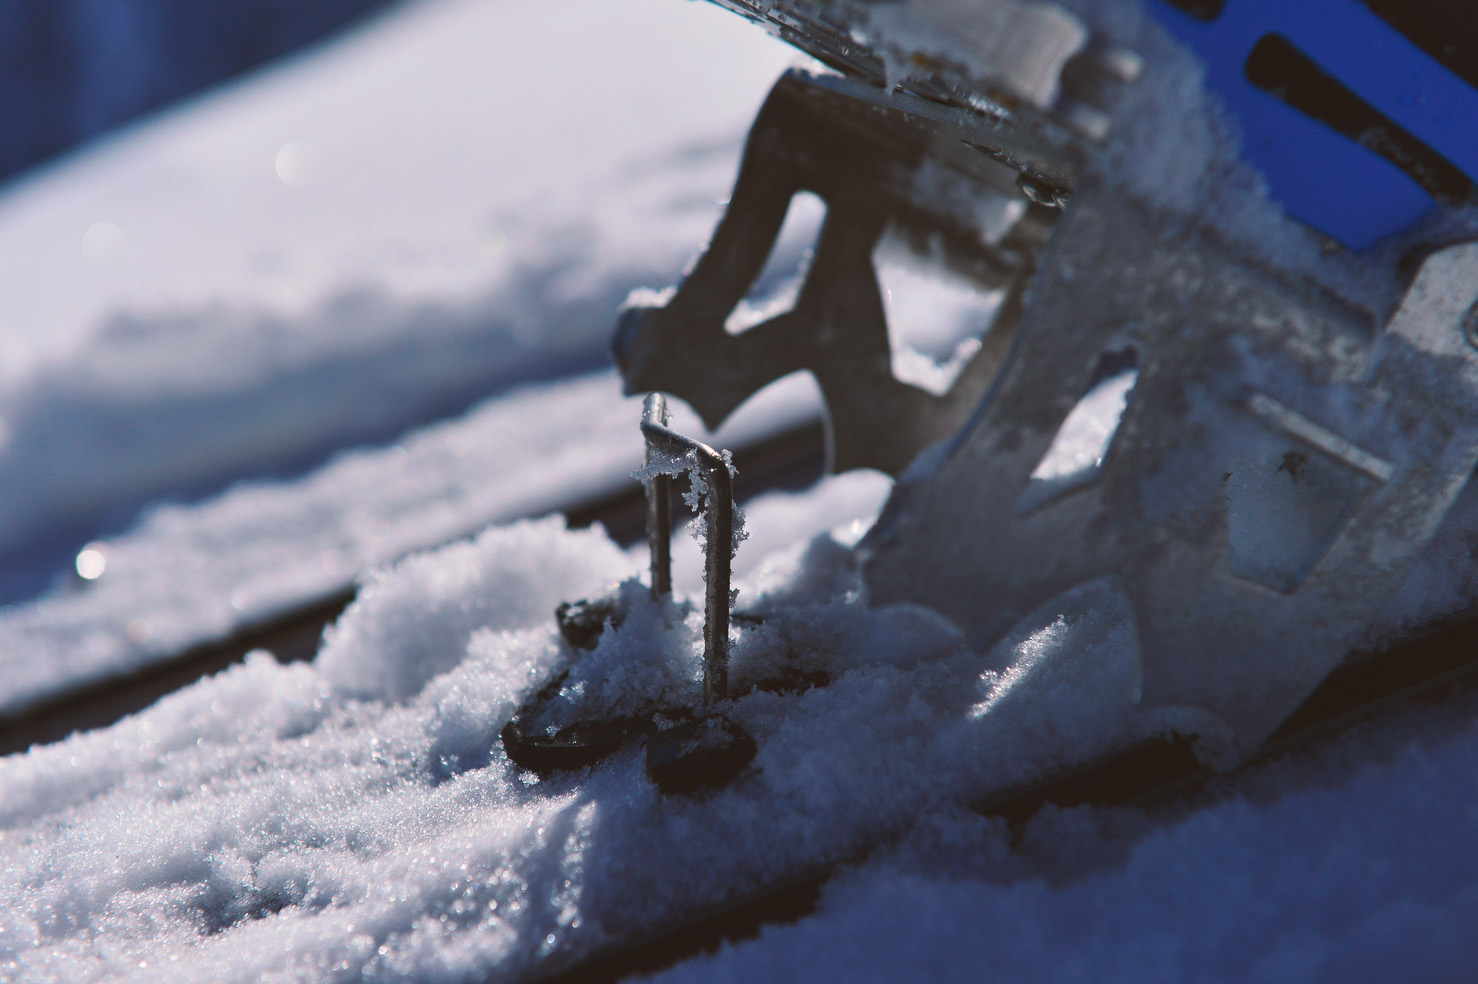
If the slopes are getting steeper and it is not comfortable to tour up anymore, lift up your riser with your pole. Your heels will not drop as much anymore, and like this, you can put extra pressure on the back of your skis.

Splitboard technique

You want to save as much energy as possible when you are touring up the mountain. You can use this energy to snowboard down harder and with more pleasure. In this section, I got a few little tips for you. With the help of these tips, your skinning technique should improve, and you can stand firm in those difficult kickturns.

step 1

sliding ski splitboard technique false splitboard technique

Make sure like in image 1 that your skis are dragged forward over the snow at each step. Search for a constant slope angle, so you walk up evenly. Your legs should be in a slight O position for improved grip with your skins. Your upperbody should be upright, so that the weight is spread evenly over your skis. Image 2 is the wrong example and should be avoided, lifting up your skis will cost you more energy, and you will have less grip.

step 2

splitboard route example splitboard technique

The KICKTURN, do not underestimate this technique. It looks simple, but if you are on steep and icy terrain, where you don’t want to fall, this feels much different. Because you barely walk straight up the mountain, you will need a lot of changes in direction. Therefore you need kickturns. Like in the image, to get you an idea about a splitboard route.

step 3

how to kickturn splitboard technique

The first ski that you change direction with is your upper ski. When you finish this first step, make sure your upper ski is solid on the ground with its inner edge into the snow.

step 4

how to kickturn splitboard technique

Here your other pole comes to work, like this, you get a better balance for the next move.

step 5

how to kickturn splitboard technique

You start kicking out your lower ski to the side with your heel and not downwards. Kicking it out to the side helps a lot with your mobility on steep slopes, and your tip of the ski will stay out of the snow.

step 6

how to kickturn splitboard technique

From here on you can continue your traverse to the next kickturn.

patagonia outerwear
jones snowboards
NZERO wax
Black Sheep Mountainbiking